Tables in Microsoft Word are similar to what you normally see and do in Excel, but they are a different thing in Word. You can copy and paste tables from Excel to Word, but this page shows you how to create and change tables from within Word.
If you click on the Tables button in the Insert tab, this menu will appear:
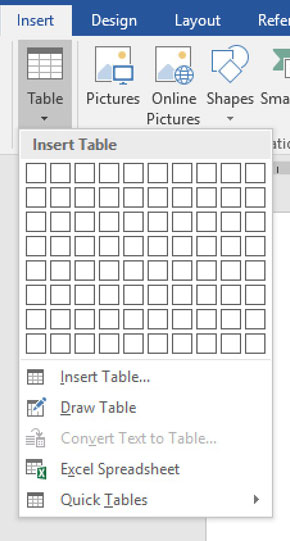
You can select the number of columns and rows by dragging the mouse over the grid. Notice that while you drag the mouse, the table dynamically draws itself in the slide, giving you a preview of what the table will look like when you decide on a size:
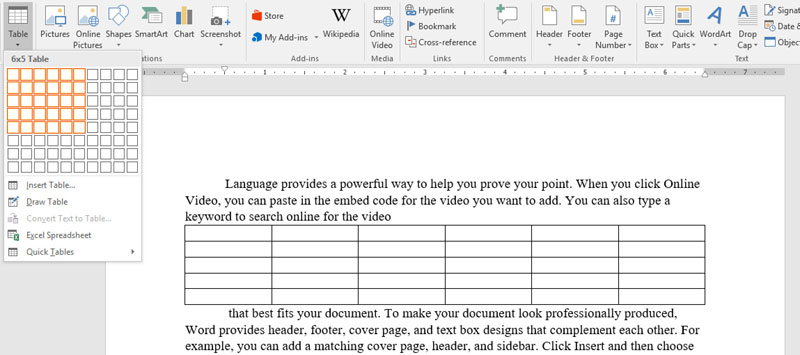
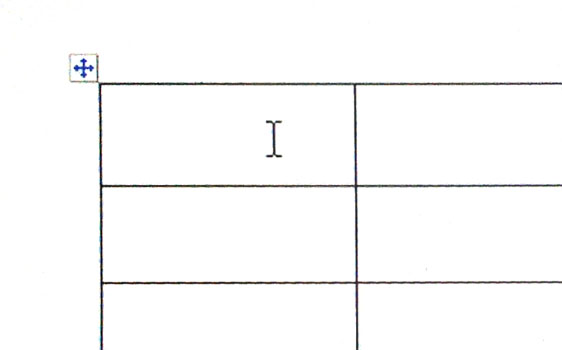
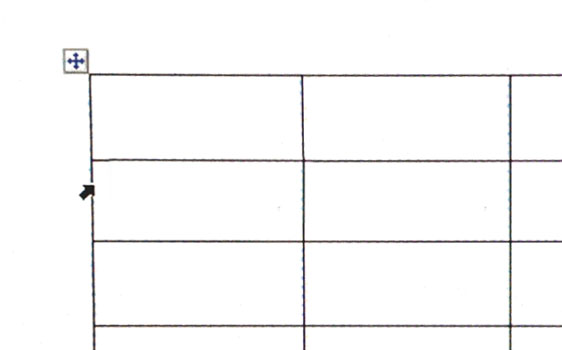
When you decide on a size, the table stays in the slide. When you mouse over the table, you will see that it has two buttons, at the top left and bottom right:
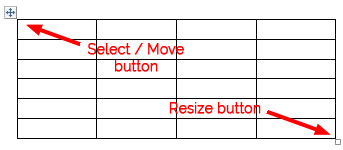
You can resize the table by clicking and dragging on the resize button at lower right. If you click on the select/move button at top left, the whole table will be selected, while clicking and dragging it will move the table around.
Dragging the table to a new position inside text will automatically make text wrap around the table.
Navigating a Table
There are a few ways to move between and select cells in a table.
To move between cells in a table, use the following methods:
- Mouse clicks: Just click where you want the cursor to be;
- Arrow keys: Use the left, right, up, and down-arrow keys (usually in the lower middle-right of the keyboard);
- Tabs & Shift-tabs: Use the tab key to move right and down; hold down the Shift key and hit the tab key to move left and up.
Note that when you get to the last cell at the lower right corner of a table, hitting the tab key will create a new line. (This cannot be done with arrow keys or the mouse.)
There are many ways to select parts of the table:
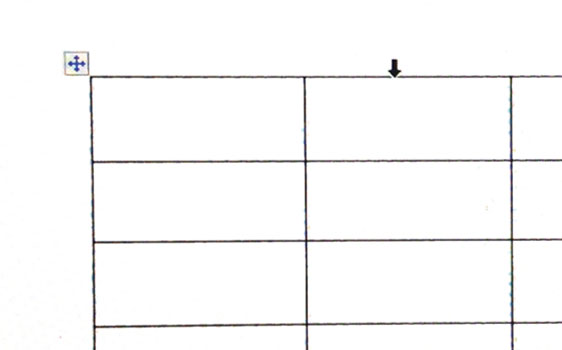
#1: Click on the top-left button. This will select all the cells in the table.
 |
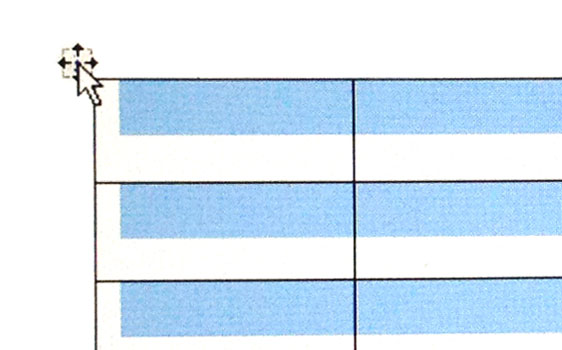 |
#2: Click just above a column. This will select all the cells in a column. Make sure the cursor becomes a down-arrow like you see here before you click..
 |
 |
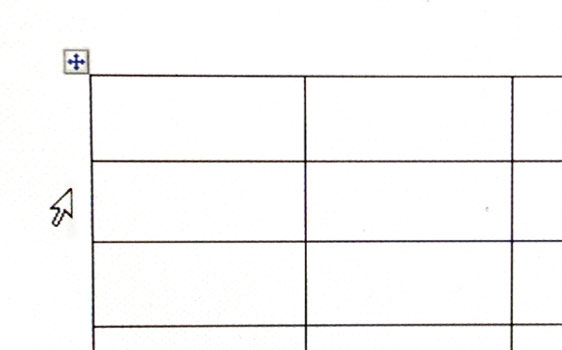
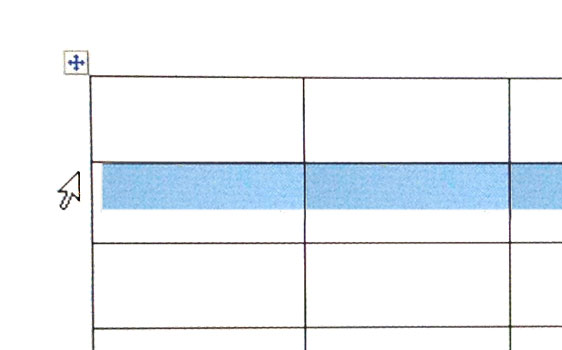
#3: Click in the left margin. This will select a row of cells. When the cursor is to the left of the table, it will become a reverse-white-arrow; click then to select the whole row.
 |
 |
#4: Click on the left side of a cell. This will select a single cell. Make sure the cursor becomes a short black arrow pointing up and to the right.
 |
 |
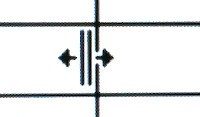
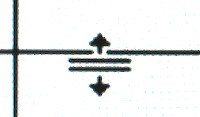
Resizing
You can also resize columns, rows, and cells by clicking and dragging on the borders. When you mouse over a border, the cursor becomes a double-arrow:
 |
 |
Note: If you select a single table cell, you can move the left and right borders so they do not match the other rows. You can only do this with the left and right arrows, however--not with the top and bottom.
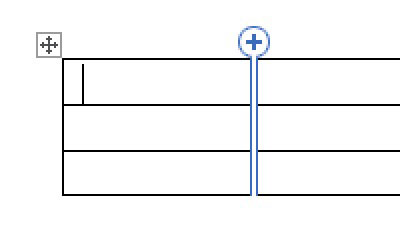
Adding Columns and Rows
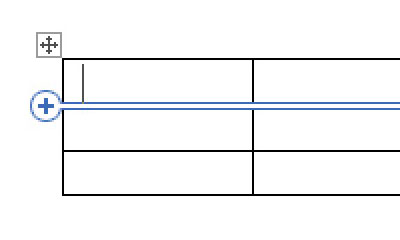
A new feature in Word 2016 is the ability to add columns and rows directly with the cursor. Just hover at the top or the left of the table, just at the outside border, and a divide with a + bubble will appear. Click the plus sign to add to the table. It will add to the width or the height of the table.
 |
 |
Merging Cells
If you wish to join two or more cells across, up and down, or in a rectangular bunch, just select the cells you want merged, and then right-click on them:
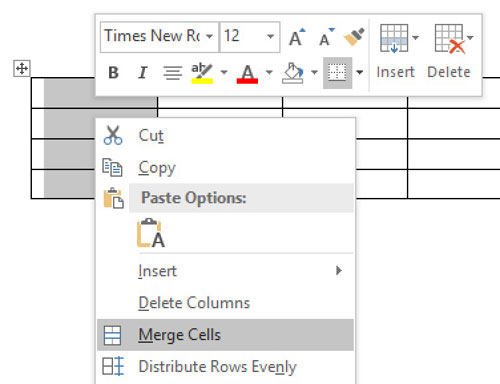
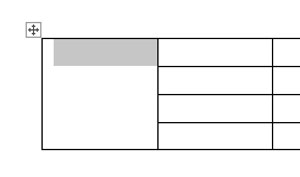
From the pop-up menu, select "Merge Cells." When you do so, all the cells will join inot one larger cell.
You will also notice that new options are avaialable on the Ribbon:
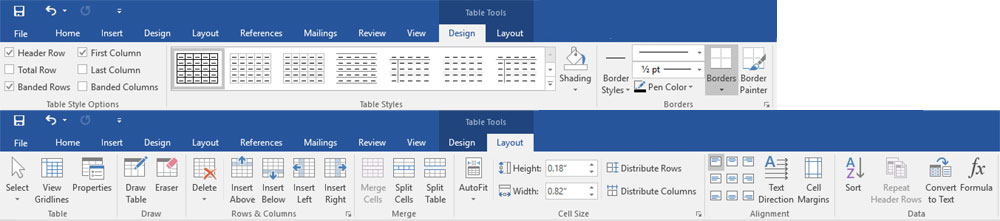
These ribbons will allow you to easily control the layout and design of the table.
In the Table Tools: Design ribbon, you can:
- turn on/off rows and columns as special label/totals areas;
- choose a design for the table from a set of templates;
- set the shading, borders, and special effects for the cells;
- draw special borders.
In the Table Tools: Layout ribbon, you can:
- turn grid lines on or off (in some tables);
- delete the table;
- add rows and columns;
- merge/split cells;
- change the size of rows/columns;
- change the alignment and margins in cells;
- work with the data in the cells.